Project Setup with Maplibre
We'll use SvelteKit for our development environment as it provides excellent developer experience with fast builds and hot reload.
1. Download workshop template project
A template project used for the workshop is prepared. You can download it by the below command.
git clone [email protected]:watergis/terradraw-workshop-template.git
If you don't use SSH, you can clone via HTTP using
Go to 3. launch Sveltekit section to continue.
2. Create workshop template manually
If you want to setup it manually, please follow the below instruction.
Create a New Project
This workshop uses SvelteKit as web framework.
After executing the above command, you will see the following instructions.
Please select:
- SvelteKit minimal
- TypeScript
- prettier, eslint
┌  Welcome to the Svelte CLI! (v0.9.12)
│
◇  Which template would you like?
│  SvelteKit minimal
│
◇  Add type checking with TypeScript?
│  Yes, using TypeScript syntax
│
◆  Project created
│
◇  What would you like to add to your project? (use arrow keys / space bar)
│  prettier, eslint
│
◆  Successfully setup add-ons
│
◇  Which package manager do you want to install dependencies with?
│  pnpm
│
◆  Successfully installed dependencies
│
◇  Successfully formatted modified files
│
◇  What's next? ───────────────────────────────╮
│                                              │
│  📁 Project steps                            │
│                                              │
│    1: cd terradraw-workshop-template         │
│    2: pnpm run dev --open                    │
│                                              │
│  To close the dev server, hit Ctrl-C         │
│                                              │
│  Stuck? Visit us at https://svelte.dev/chat  │
│                                              │
├──────────────────────────────────────────────╯
│
└  You're all set!
You can open localhost:5173 to see the default website of SvelteKit now.
Press ctrl+c to terminate local server.
Official documentation how to setup a ScelteKit project can be found at svelte.dev/docs/kit/creating-a-project.
Setup Maplibre and Terra Draw
Open terradraw-workshop-template project on your vscode, and open a terminal.
Install dependencies
Setup a blank Maplibre map
Find +page.svelte file under src/route folder, and open it on vscode.
Delete the following default HTML.
<h1>Welcome to SvelteKit</h1>
<p>Visit <a href="https://svelte.dev/docs/kit">svelte.dev/docs/kit</a> to read the documentation</p>
Paste the following code to +page.svelte.
<script lang="ts">
import {
AttributionControl,
GeolocateControl,
GlobeControl,
Map,
NavigationControl,
ScaleControl
} from 'maplibre-gl';
import { onMount } from 'svelte';
import 'maplibre-gl/dist/maplibre-gl.css';
let mapContainer: HTMLDivElement | undefined = $state();
let map: Map | undefined = $state();
onMount(() => {
if (!mapContainer) return;
map = new Map({
container: mapContainer,
style: {
version: 8,
name: 'OpnenStreetMap Raster',
sources: {
osm: {
type: 'raster',
tiles: ['https://tile.openstreetmap.jp/{z}/{x}/{y}.png'],
tileSize: 256,
maxzoom: 19,
attribution:
'<a href="https://www.openstreetmap.org/copyright" target="_blank">© OpenStreetMap contributors</a>'
}
},
layers: [
{
id: 'osm',
type: 'raster',
source: 'osm'
}
]
},
center: [174.7629, -36.8587],
zoom: 11,
hash: true,
attributionControl: false
});
map.addControl(new NavigationControl(), 'top-right');
map.addControl(new GlobeControl(), 'top-right');
map.addControl(
new GeolocateControl({
positionOptions: { enableHighAccuracy: true },
trackUserLocation: true
}),
'top-right'
);
map.addControl(new ScaleControl({ maxWidth: 80, unit: 'metric' }), 'bottom-left');
map.addControl(new AttributionControl({ compact: true }), 'bottom-right');
});
</script>
<div class="main">
<aside class="sidebar">
<!-- Use this space for adding additional elements for workshop -->
</aside>
<div class="map" bind:this={mapContainer}></div>
</div>
<style lang="scss">
.main {
display: flex;
height: 100vh;
width: 100vw;
.sidebar {
width: 260px;
background: #f4f4f4;
border-right: 1px solid #ddd;
padding: 1rem;
box-sizing: border-box;
overflow-y: auto;
}
.map {
flex: 1;
height: 100%;
width: 100%;
}
}
</style>
Disable SSR
As default setting of SvelteKit, the above code cannot work with SSR.
Add +page.ts under src/routes folder and paste the below script.
3. Launch sveltekit
Open a terminal, run local server.
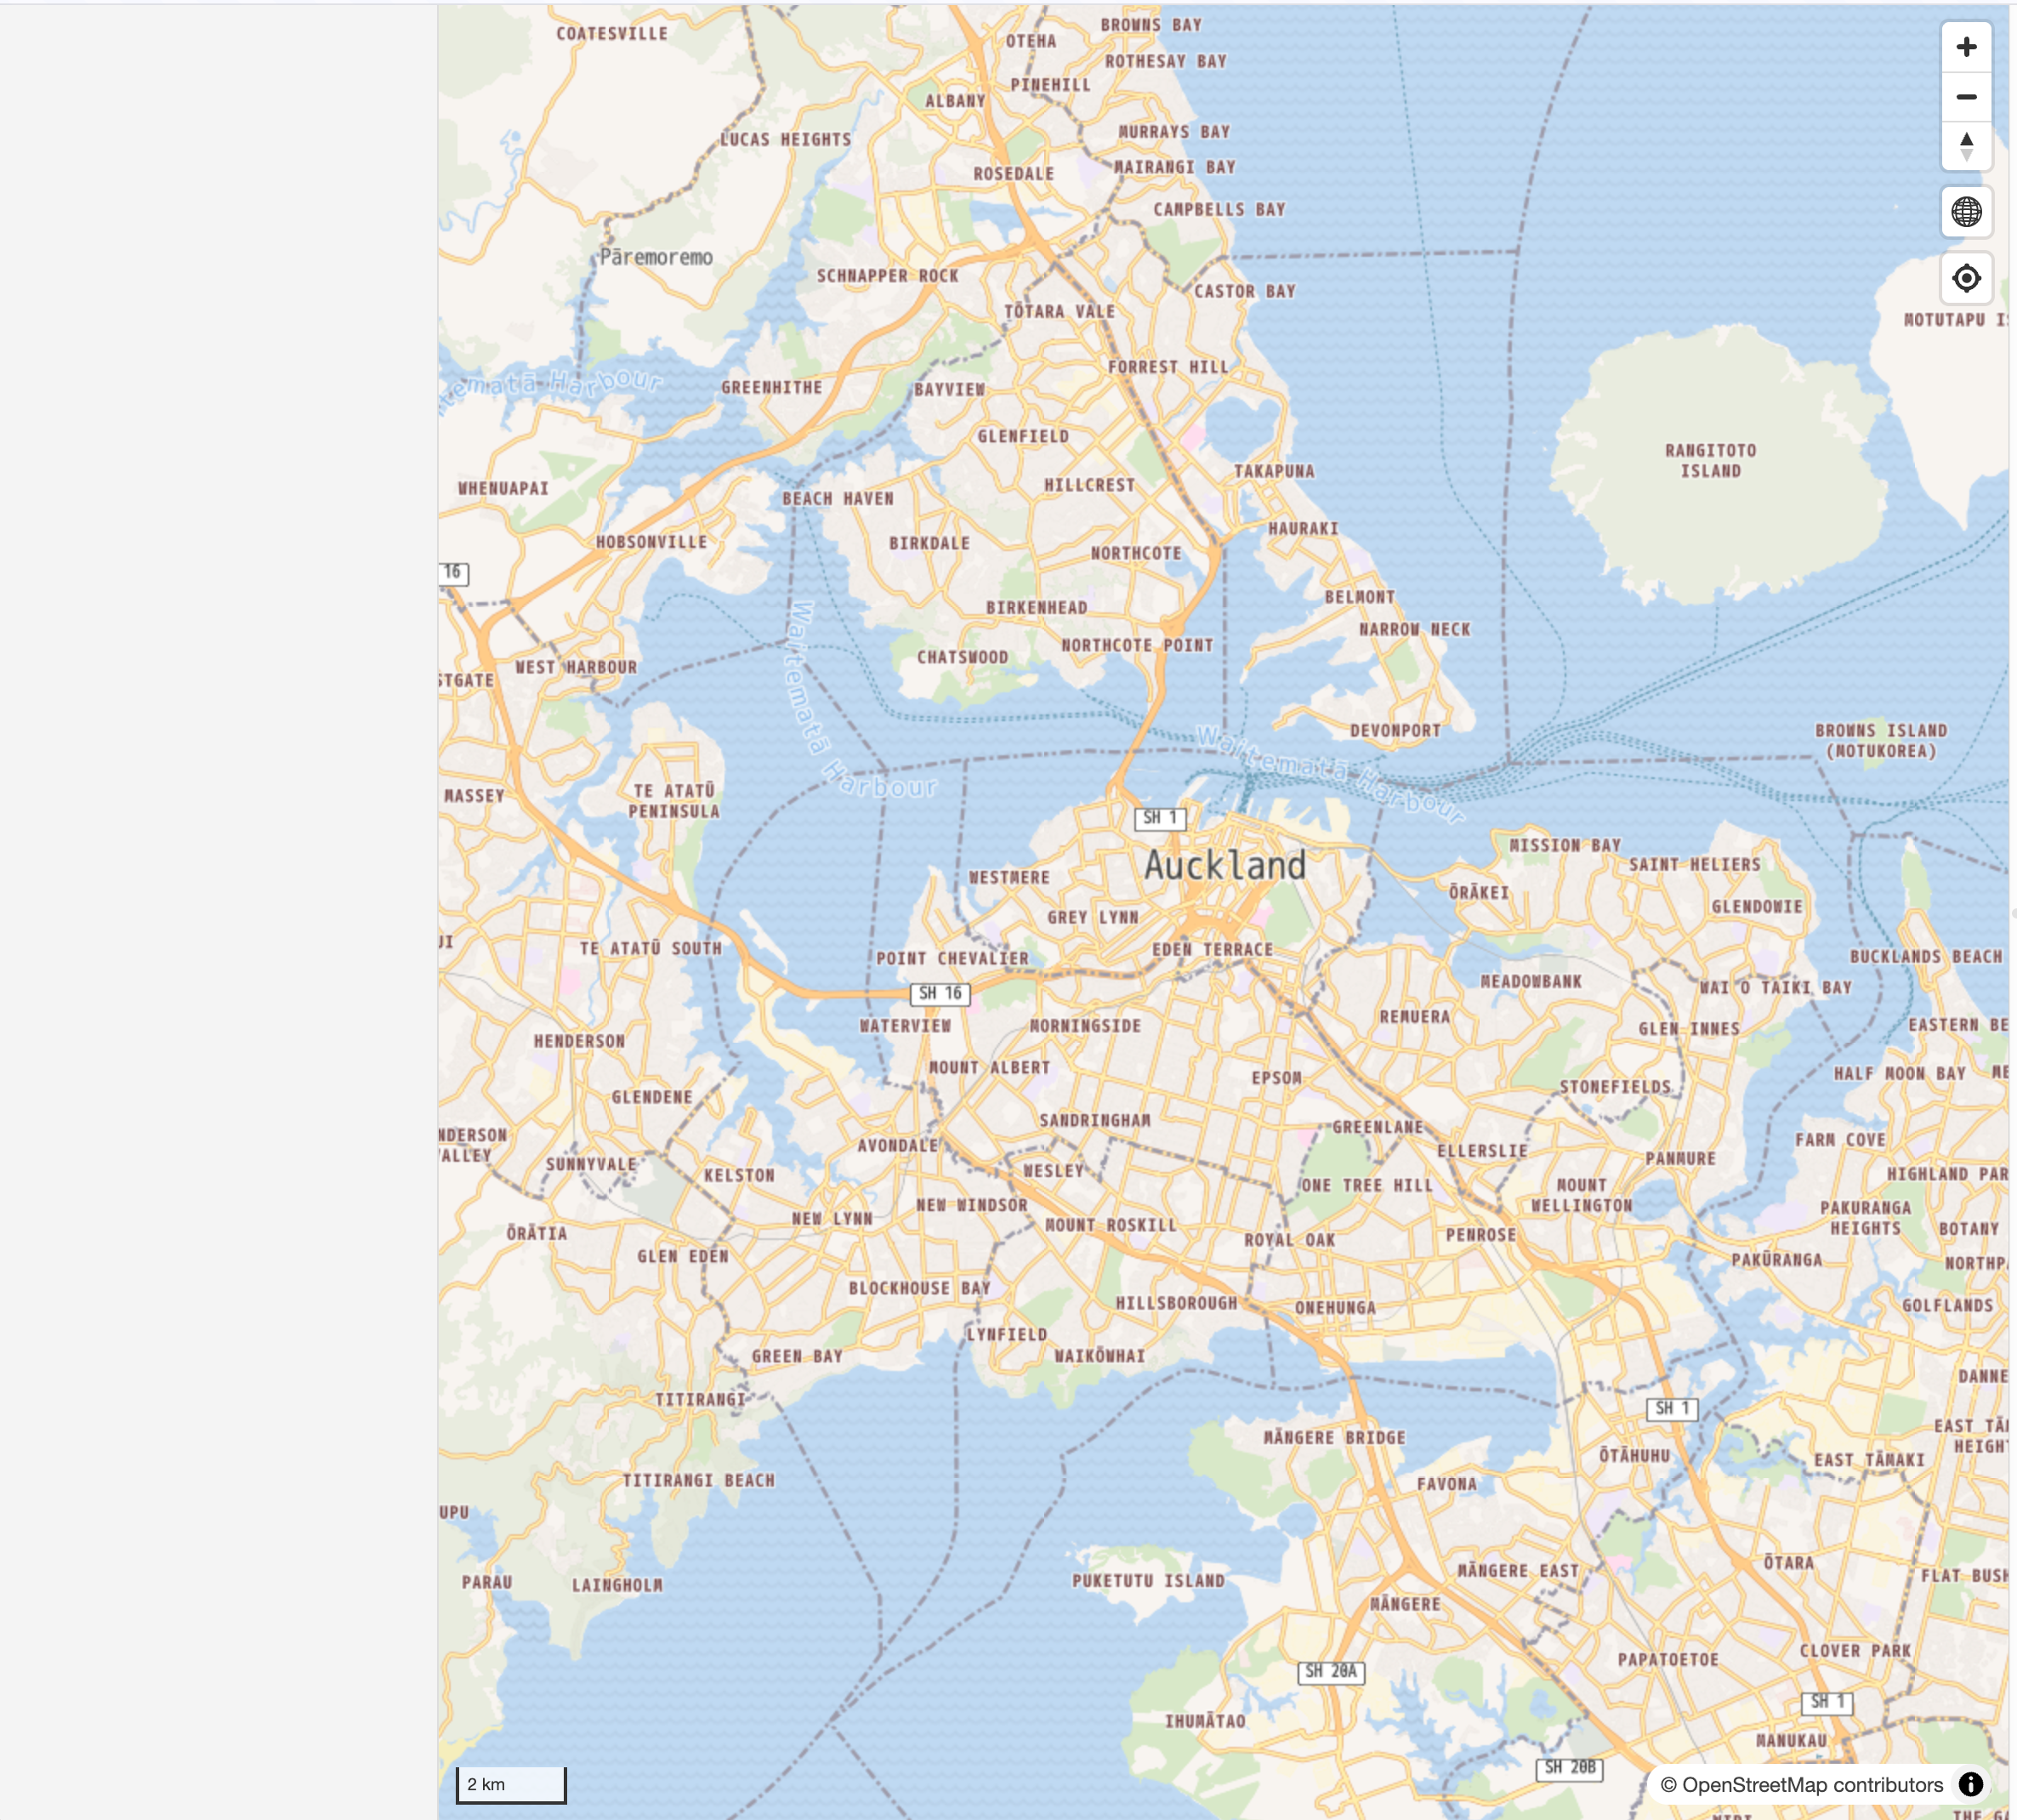
You can see the map for Auckland like the below screenshot.
4. Project Structure
Your project structure should look like this:
terradraw-workshop-template/
.
├── eslint.config.js
├── node_modules
├── package.json
├── pnpm-lock.yaml
├── pnpm-workspace.yaml
├── README.md
├── src
│   ├── app.d.ts
│   ├── app.html
│   ├── lib
│   │   ├── assets
│   │   │   └── favicon.svg
│   │   └── index.ts
│   └── routes
│       ├── +layout.svelte
│       ├── +page.svelte <- We use this file in the workshop
│       └── +page.ts
├── static
│   └── robots.txt
├── svelte.config.js
├── tsconfig.json
└── vite.config.ts
We mainly use src/routes/+page.svelte file in the workshop.
What's Next?
With your environment properly set up using SvelteKit and Maplibre, you're ready to start learning Terra Draw fundamentals.